Rivet application in leather goods and fashion accessories: technical criteria for a “production-ready” result
A properly selected and correctly installed rivet improves mechanical strength, clean aesthetics, and repeatability. Here’s what to evaluate on leather, textiles, and laminated assemblies.
Why rivet application is a production-critical topic
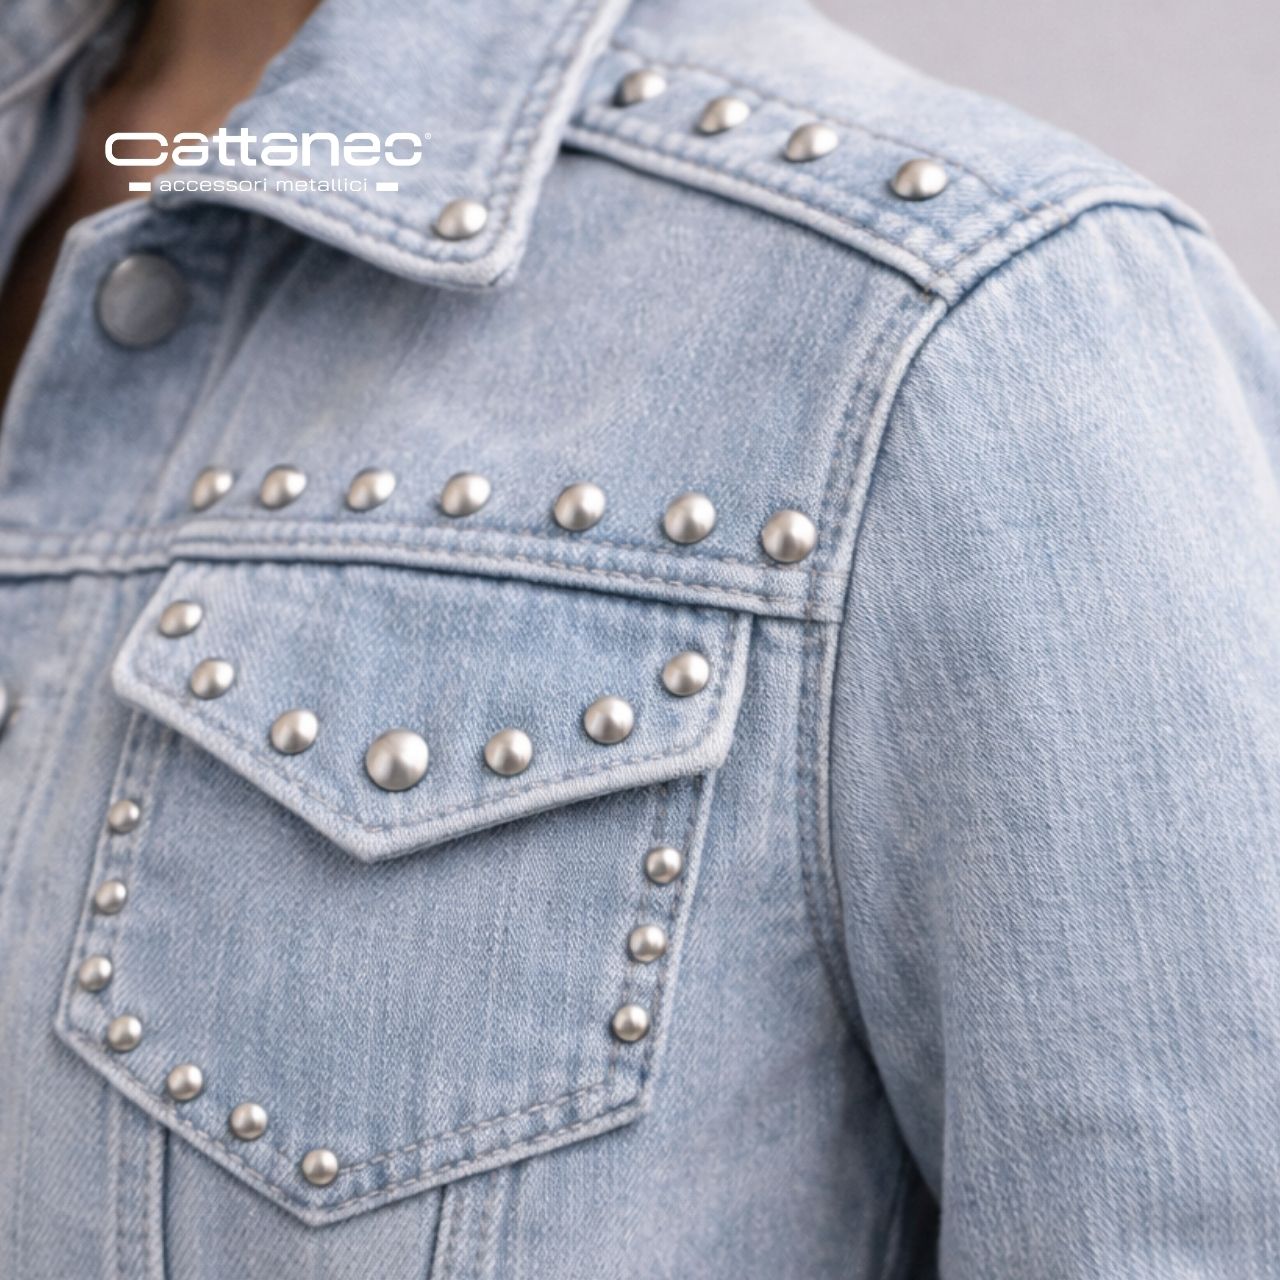
In leather goods and fashion accessories, a rivet is not just a decorative detail. It is a joining component used in areas that are frequently under stress: belt loops, shoulder-strap attachments, flaps, reinforcements, pull tabs and adjustment points. As a result, correct application affects three practical outcomes: mechanical strength, perceived quality, and repeatability from sample to production.
This is where the difference lies between an “okay” result and a truly production-ready one. It is not simply “adding a rivet,” but selecting and installing the right configuration based on thickness, material, layer build-up, and end use.
From a technical standpoint, rivets belong to the family of permanent fasteners. For terminology and definitions, a useful reference is ISO documentation on rivets (in particular blind rivets) and related concepts such as geometry and performance.
What changes between shoes, bags, belts and jackets
The same rivet, installed “the same way,” can perform differently depending on the product. The reason is straightforward: the substrate changes, and so does the direction and nature of the loads.
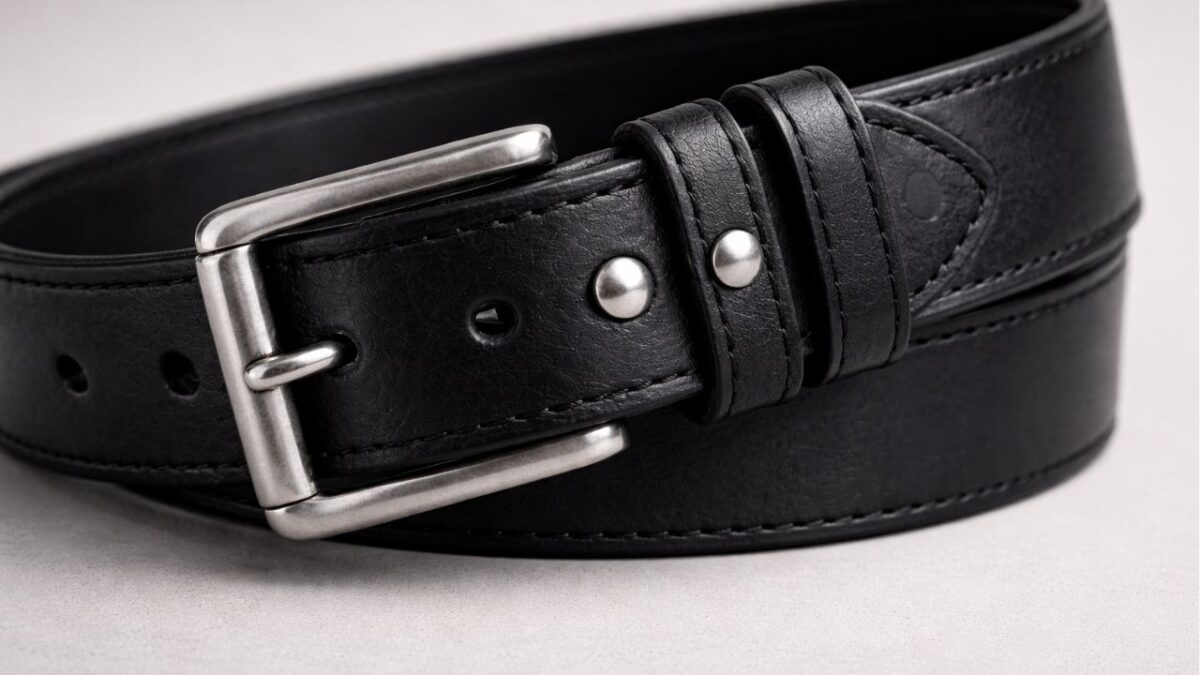
Belts: repeated tensile load and bending; long-term stability and resistance to pull-out at belt loops or attachment points are often key.
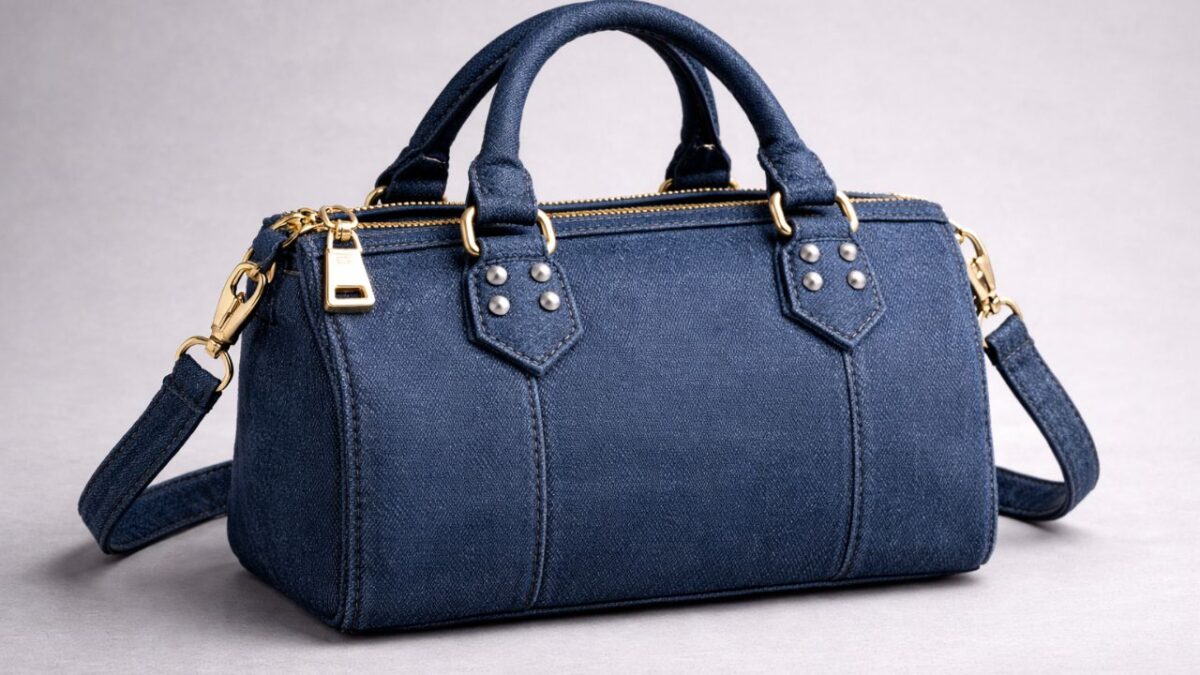
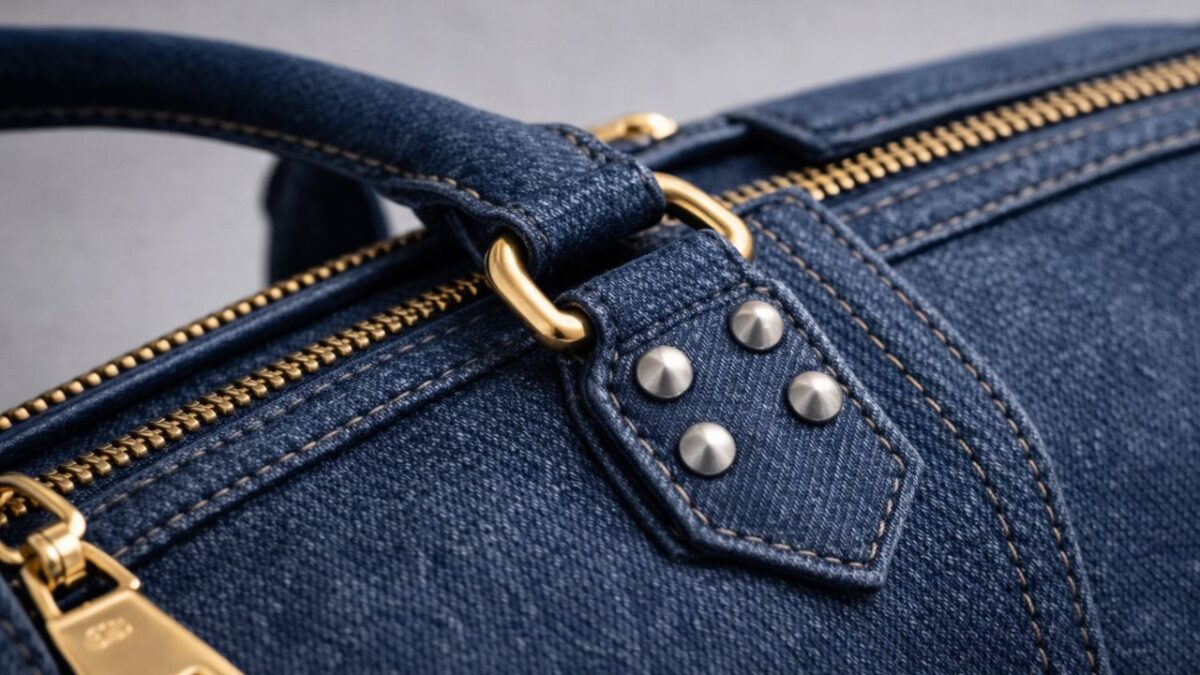
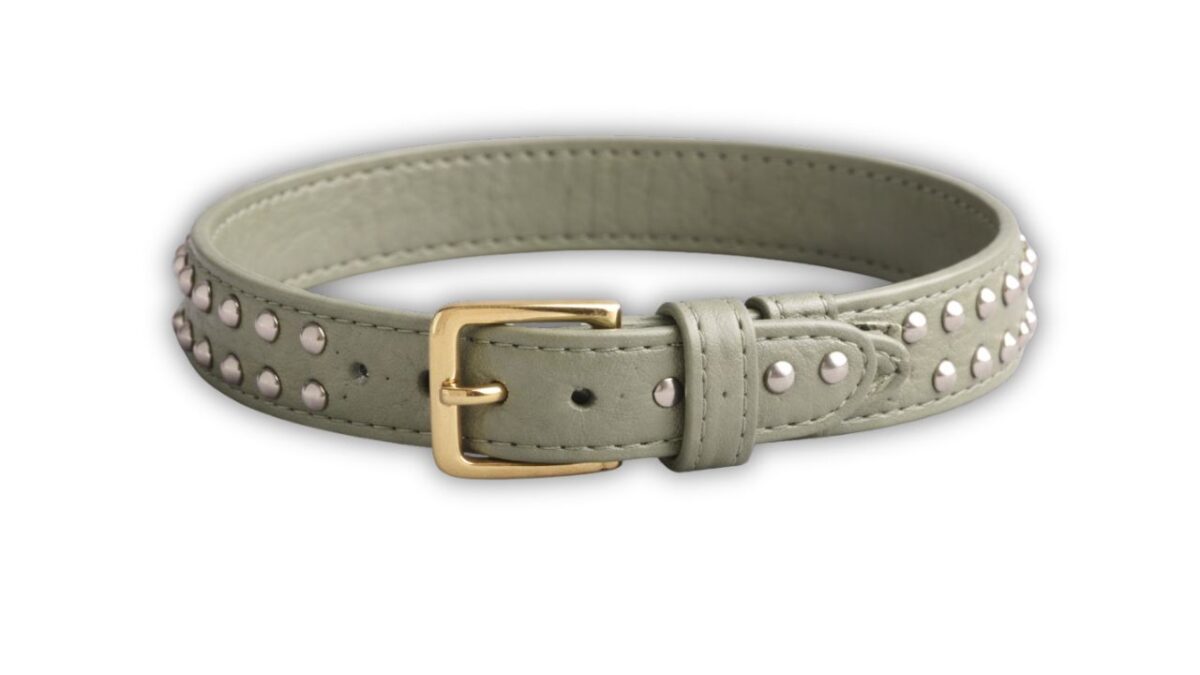
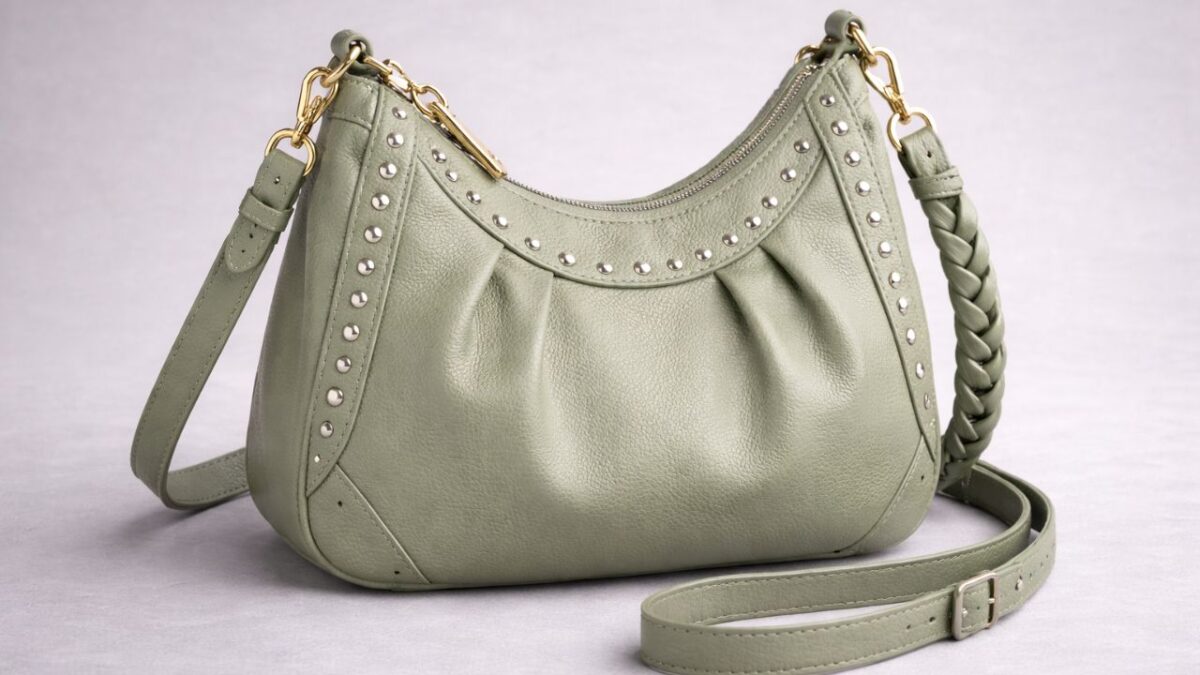
Bags: dynamic loads (straps/handles), often across multiple layers and reinforcements; in addition, the rivet can become a visible element of the product’s aesthetic language.
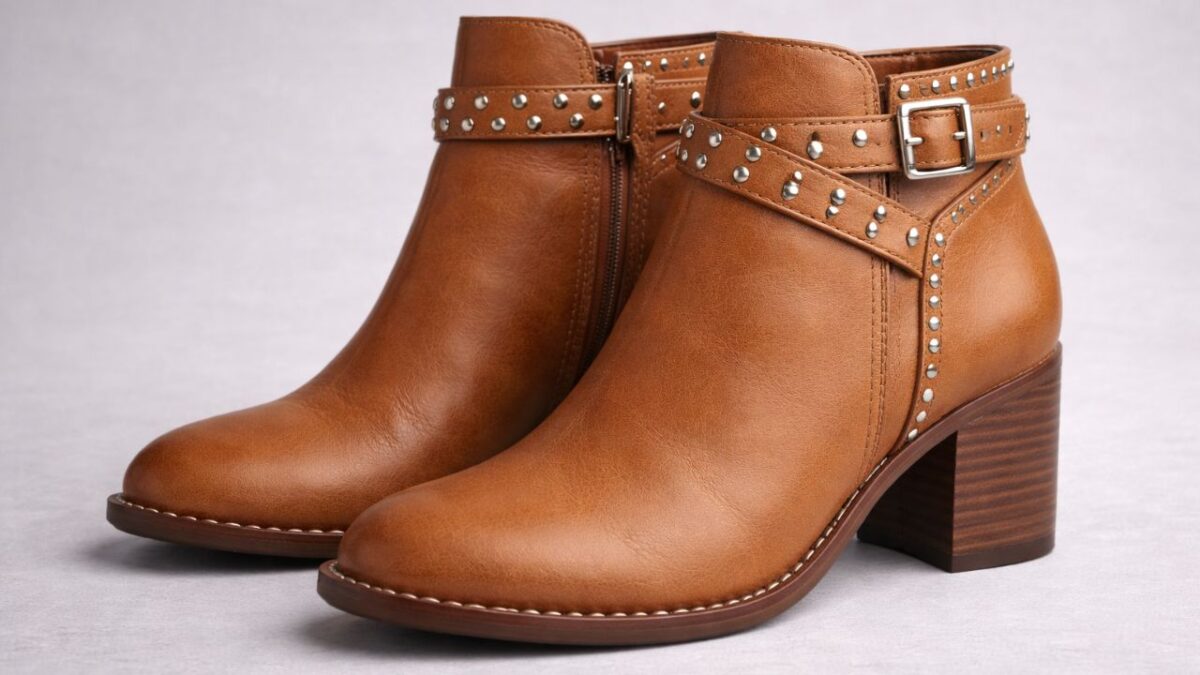
Footwear: areas subject to movement and vibration; here, installation quality and the absence of sharp edges or irregularities are critical.
Jackets and garments: more flexible, often thinner substrates; attention is required to avoid deformation, marking, and incompatibility with linings or padding.
In other words, there is no truly “universal” rivet for every application. A professional result comes from selecting based on total thickness (grip), hole specification, material, and finish. It also comes from ensuring the installation method is consistent with the workshop’s process.
How to choose sizes and finishes
1) Total thickness and “grip range”
A practical rule is to measure the total thickness of the assembled materials at the actual application point (not just the “bare” leather). Then select a rivet length that matches that value. In fastening practice, the concept of grip range is widely used to avoid rivets that are too short (incomplete setting) or too long (loose joint or deformation). Furthermore, a clear explanation of grip range and size selection is typically available in technical guides from fastening manufacturers.
2) Hole specification and tolerances
An out-of-spec or poorly finished hole is one of the most common causes of defects: play, ovalisation, marks on the material, and unstable positioning. In addition, with leather and other compressible materials, the perceived “tightness” can be misleading. Therefore, it is important to validate the result on a sample and replicate the same hole preparation in production.
3) Rivet materials and compatibility
Compatibility is not only an aesthetic matter: it also includes oxidation, colour migration on light leathers, interaction with sweat/humidity, and contact with other metals in the product. For this reason, material and finish selection should be considered together with the rest of the hardware (rings, buckles, clasps) and the expected conditions of use.
4) Finishes: consistency and quality control
Finishes are used to achieve a consistent aesthetic and, in some cases, to support surface durability. From a workshop perspective, the key is to reduce variability: same finish, same base material, same batch whenever possible, and a standard visual check (lighting, viewing distance, acceptable defects).
Common mistakes that turn a detail into a defect
- Size not matched to the actual thickness (measuring a “convenient” point instead of the real application area).
- Missing reinforcement where it is needed (soft leather, textiles, laminated/assembled materials): without adequate backing, the fastener can mark the surface or cause the material to pucker and pull.
- Non-repeatable setting process: tools, pressure, and operating sequence are not standardised across operators.
- Inconsistent aesthetics: a rivet finish that clashes with the buckles and other hardware used on the item/accessory.
https://cattaneominuterie.it/it/contatti/
How to set up sampling and production start-up correctly
During the sampling phase, the most robust approach is to treat the rivet as an engineered component:
- define the application point and the actual thickness (including any reinforcements)
- select 1–2 size options (if thickness varies)
- choose 1–2 finishes consistent with the product line
- run an application trial “as in production” (same tools and process sequence)
- validate both appearance and holding performance under real use conditions (tension, bending, handling)
For those who need to finalise a choice quickly, it is useful to prepare a short internal technical sheet including: application point, layer build-up, hole specification, rivet size, finish, and installation notes.
Authoritative external links:
UNI EN 12472 – Metodi di usura artificiale per test galvanici
Each product in every range includes various items with specific features useful for most needs. Cattaneo Minuterie Metalliche offers personalized and customizable solutions for every type of requirement, and we are capable of tailoring our products to your requests.
For any information regarding this product range
Explore our entire production.